
Managing Equipment
This page describes the available options for creating a new tool and managing existing tools. This page is only available to users who are able to manage tools.
Creating a New Tool
New tools are created from the Admin -> Tools section. The fields in the following forms are the same ones used in modifying a tool as well.
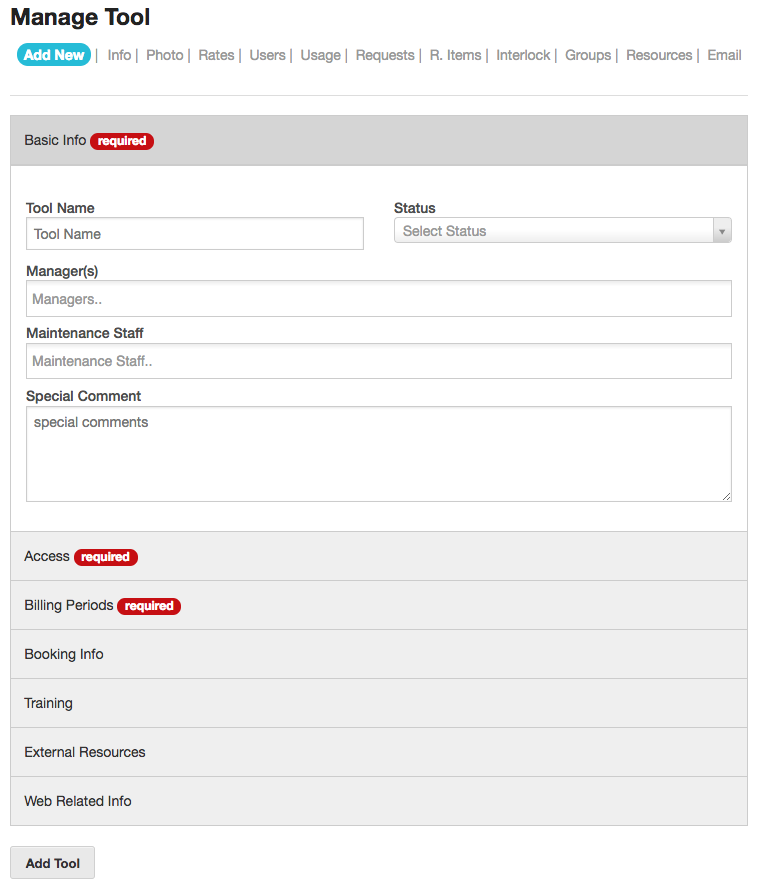
Basic Info
Tool Name – This will be the name displayed throughout the system for the tool
Status –
- Up – Normal Operation
- Down – users will be unable to book or login
- Special – Same as Up
- Inactive – users cannot book or login, tool is removed from searches.
Managers – List users who are responsible for the management of the tool. These users can be automatically emailed when requests are generated involving this tool if the system is configured to do so
Maintenance Staff – List the users who are responsible for the maintenance of the tool.These users can be automatically emailed when requests are generated involving this tool if the system is configured to do so
Special Comment – Any comments here will be displayed to users at the time of booking / logging in. These comments will also be displayed on the public facing tool page at the top of the info section
Access
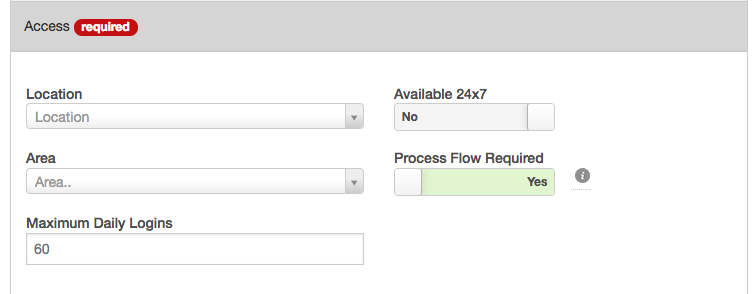
Location – Select the physical location for this tool
Available 24×7 – Determines if the tool can be used outside of regular business hours
Area – Select the process area that the tool belongs to
Maximum Daily Logins – Set a daily maximum for daily logins. This will not prevent users from logging in more than this, but will generate an email to the tool trainer to notify them
Billing Period
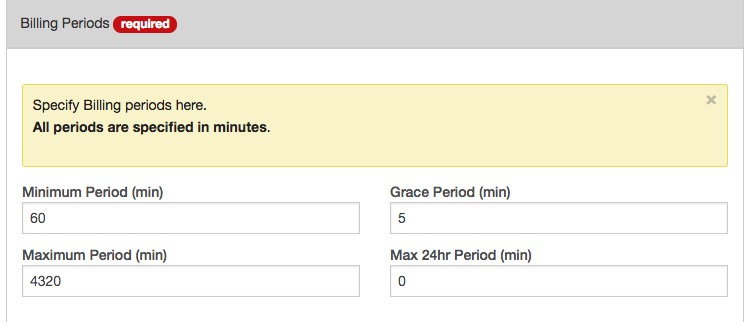
All Periods are in minutes.
Minimum Period – The minimum period that will be billed one the grace period has elapsed. Set to 0 for no minimum.
Grace Period – Users who use a tool for less than this time will not be charged. This can be considered a set-up time.
Maximum Period – The maximum period for which a user will be charged. Set to 0 for no maximum
Max 24 Hr Period – The maximum period that will be charged in a 24 hour block. For example, if a particular process requires a user to be logged in for multiple consecutive days (ie. 3 days) this is the maximum amount that will be charged per day. Set to 0 for no maximum.
Booking Info
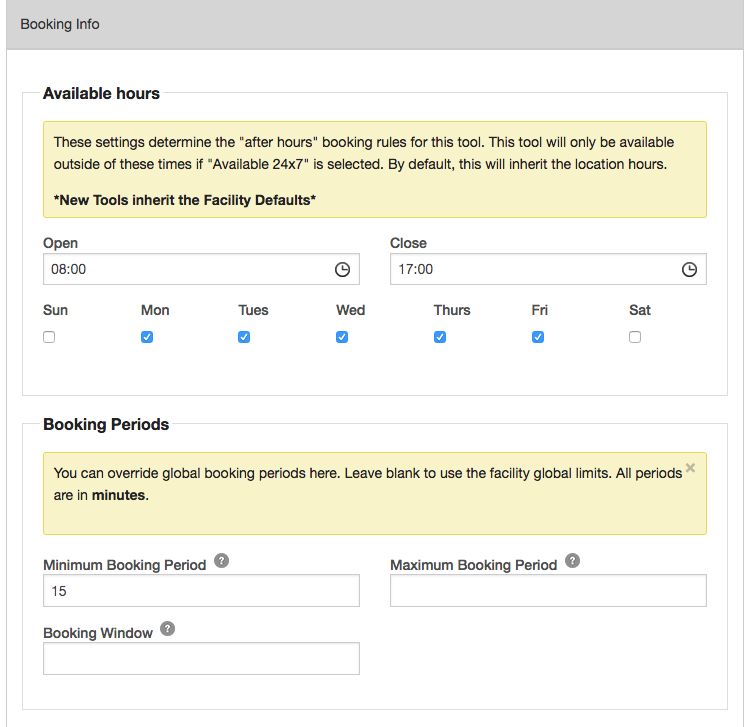
Available Hours – Enter the normal business hours for this tool. Usages outside this time will be considered “after-hours”
Booking Periods
Minimum Booking Period – Specify the minimum booking period. Leave blank to use Facility defaults
Maximum Booking Period – Specify the maximum booking period. Leave blank to use Facility defaults
Booking Window – The maximum number of days into the future that equipment can be booked. Leave blank to use Facility defaults
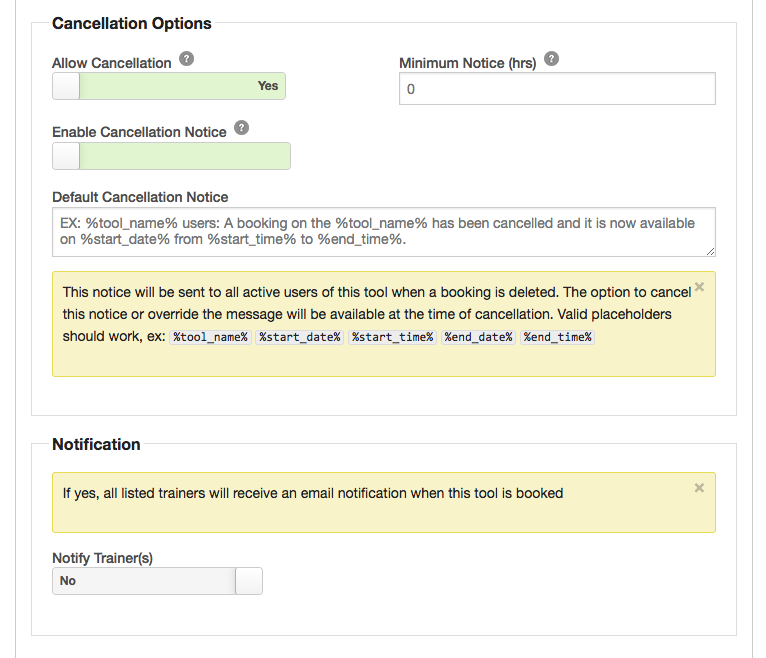
Cancellation Options
Allow Cancellation – Determines if bookings made for this tool can be cancelled
Minimum Notice – The number of hours in advance that the booking must be cancelled. Leave blank (or 0) for no limit.
Enable Cancellation Notice – If yes, the option to send an email notice to all other users of this tool will be presented and the time of cancellation.
Default Cancellation Notice – Enter a template for the default cancellation notice. In the template, placeholders can be used to represent specific details for the booking. The content of the email can be modified before sending.
Notification
Notify Trainer(s) – If yes, all listed trainers will be notified when this tool is booked
Training
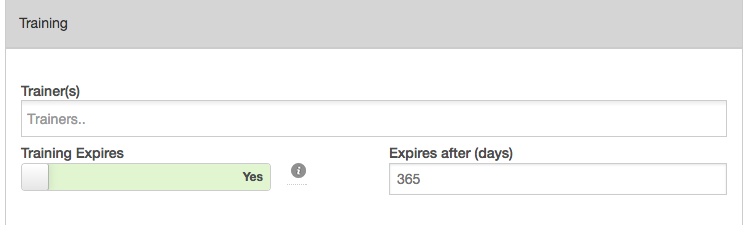
Trainers – List all users who are qualified trainers for this tool. If a user has a level that “requires trainer login“, only those users listed in this field will be considered valid trainers to satisfy that condition.
Training Expires – If yes, users will be automatically reset to the default user level on this tool if they have not had a valid login on the system within the period defined by the Expires After field. Used in conjunction with the Facility Option – auto-expire tool users. This can be overridden on a per user basis.
Expires After – If the above is enabled, users who have not logged in for more than this number of days will be reset to the default user level. Users will be sent an email warning approximately 30 days before they are reset. This can be overridden on a per user basis.
External Resources
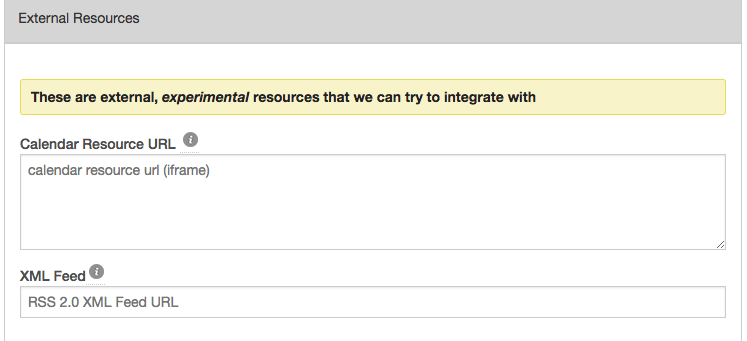
These options are a bit experimental and milage may vary.
Calendar Resource URL – One method of displaying a graphical calendar is to embed a Google Calendar. This is done by adding a public calendar to a gmail account, and then copying and pasting the code found in the Embed This Calendar section of google calendar. This will produce something like the following (depending on the parameters of the embed code):
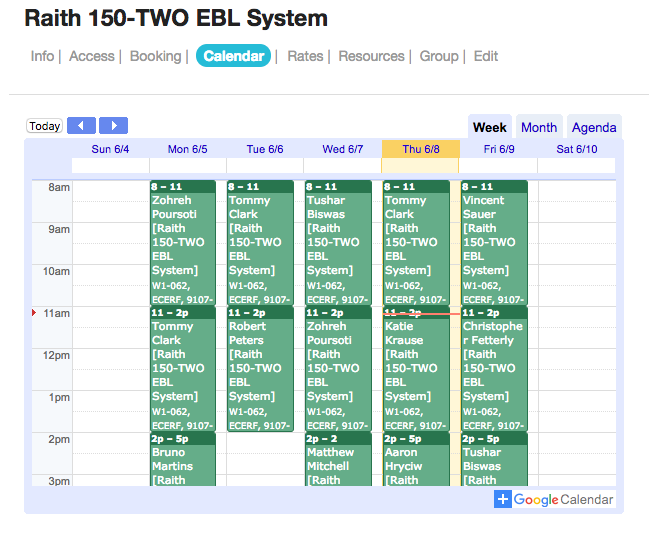
Whatever is entered in this field will be rendered in the calendar page of the public facing tool page.
XML Feed – This field can be used to pick up an XML feed specific to the tool. If entered a new menu option will be shown on the public facing page – Notices – which will render this feed.
Web Related Info
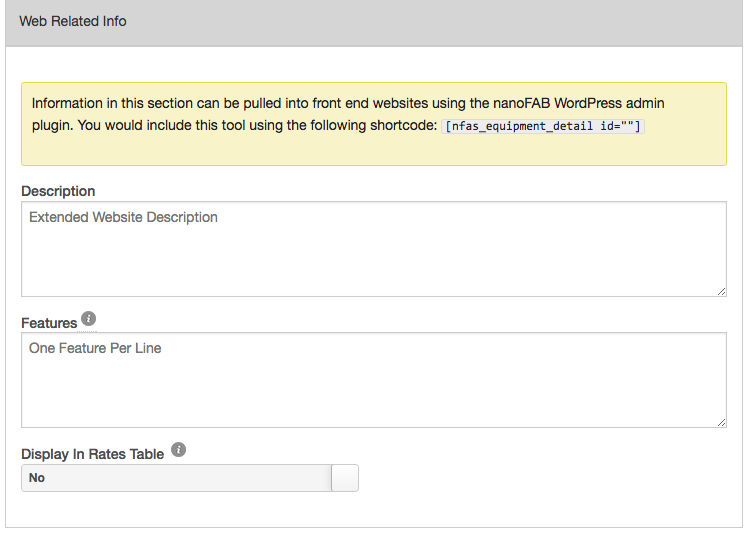
This section is intended to be used with the nanoFAB wordpress admin plugin. It will provide the ability for a wordpress site to pull in equipment information and display it.
Description – Some description of the tool
Features – A list of tool features. This will be rendered in a <ul> list – one list item per line
Display in Rates Table – The plugin can generate a rates table, this determine if the tool should be listed in this table
Editing Tools
Once a tool has been created, you can also modify additional properties.
Photo

To upload a photo, simply drag and drop an appropriate image into the file upload area. You can also use the Select File button to open a traditional file browser.
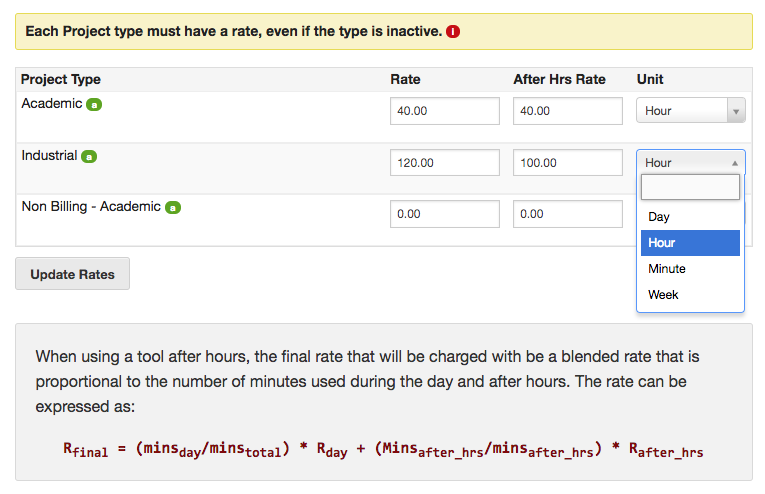
Rates
Each project type must have an associated rate. Add rates and select the unit as appropriate for the equipment.
Users
You can view and modify tool users in the User section of the tool management page.
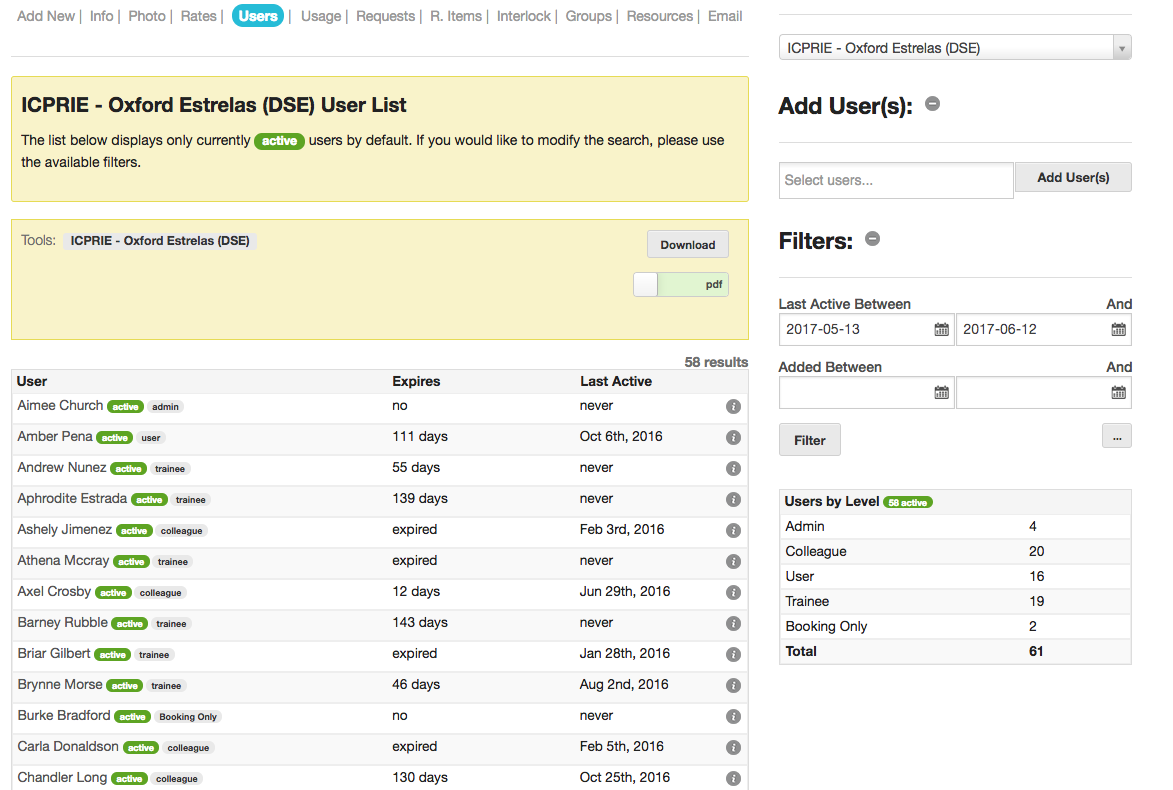
By default, this page will list the users who have access to the tool. This information can be exported using the Download button. At a glance you will be able to see the total number of users as well as a breakdown of user by user level.
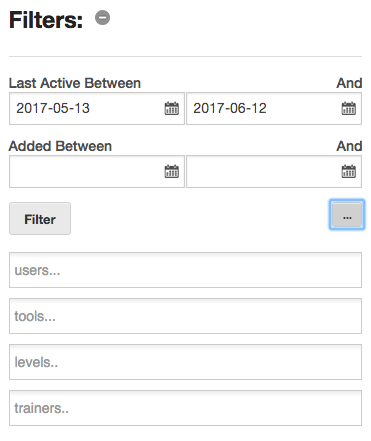
Filters allow you to refine the list. Clicking the ‘…’ will expand the available filters
To Add new users to the tool, simply enter their user name in the Add Users field (multiple users can be entered in a comma separated list) and click Add User(s). The new users will be added to the bottom of the list with the default user level. To modify tool user properties, click the info icon to open the tool user modal.

Date Added – The date the tool-user was created
Total Hours – The total number of hours the user has logged on the tool
Last Used – The last time the user logged into the tool
Training Expires – The number of days remaining until the user will be reset to the default user level (if enabled)
Trained By – The user who trained this user in the use of the tool. By default, this will be the user who created the tool-user
Access Level – The level that the user has been granted on the tool
Can be Buddy – Used to override the default setting based on the user level
Allow After Hours – Used to override the default setting based on the user level
Override Training Expiration – Used to override the default setting based on the user level
Comment – Add some arbitrary comment to the user.
The fields that will be editable will be dependant on the role of the current user. Clicking Remove will remove access to this tool from the selected user.
Usage
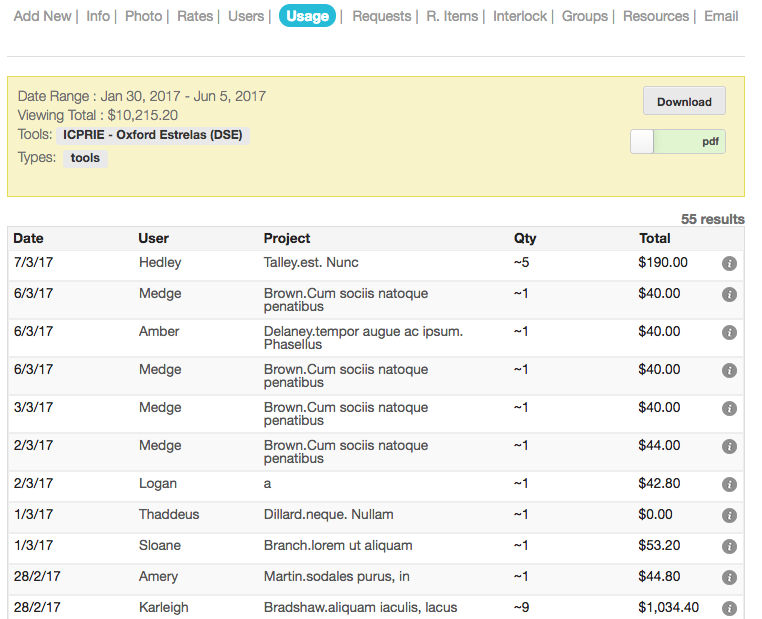
The usage tab provides a listing of all the past usage logged on the equipment. This information can be exported using the Download button in either pfd or xls format.
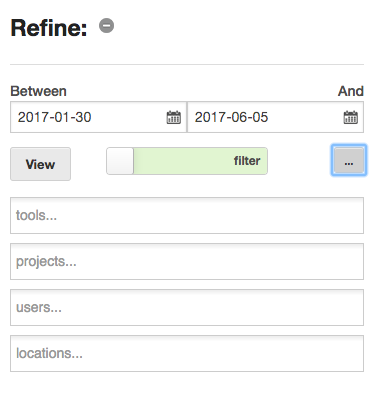
As with other views, use the Refine form to taylor the usage view. The Filter / Search option works as follows:
Filter – Matches all the selected parameters using an AND function.
Search -Matches all the selected parameters using an OR function.
Requests / R.Items
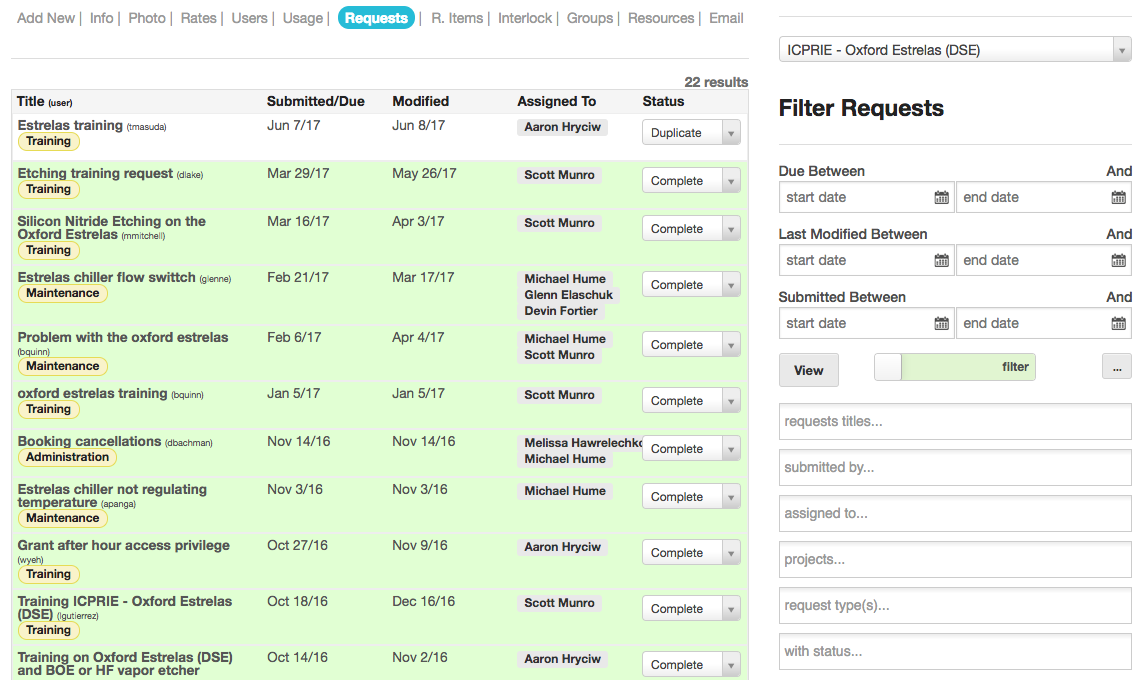
This section lists all of the requests associated with this tool. Use the Filter Requests form to customize the list. Visit the Request page for details on working with requests. Click R.Items to view all of the individual Request Items.
Interlocks
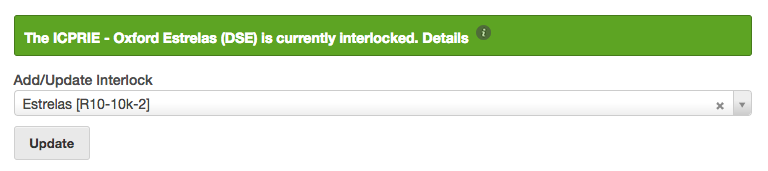
Interlocks are used to prevent unauthorized access to equipment by physically disabling equipment until a valid login has occurred. There are many methods to physically interlock a tool and that is beyond the scope of this document.
To associate an interlock with a tool, simply select the appropriate interlock from the list and click update. The interlock should already be created in the system. From this page you can test the communications with the interlock and force it on or off. Click the info icon next to Details to configure the interlock.

Visit the Interlock section for more details on how interlocks are configured in LMACS.
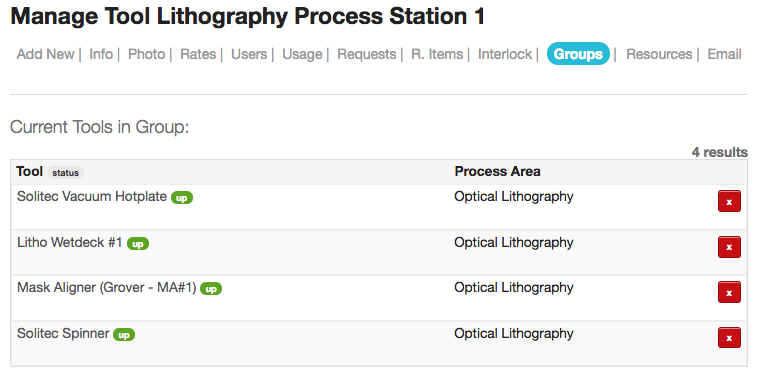
Groups
Tool groups can be used for a number of creative applications; however, they are designed to allow a group of tools to be booked and logged in together. Initially this was created to allow “litho process stations” to be created which would allow a mask aligner, resist spinner, and litho wetdeck to be booked together.
This section lists the either the tools that are in this tool group, or the groups that this tool belongs to.
View Tool Groups for more details.
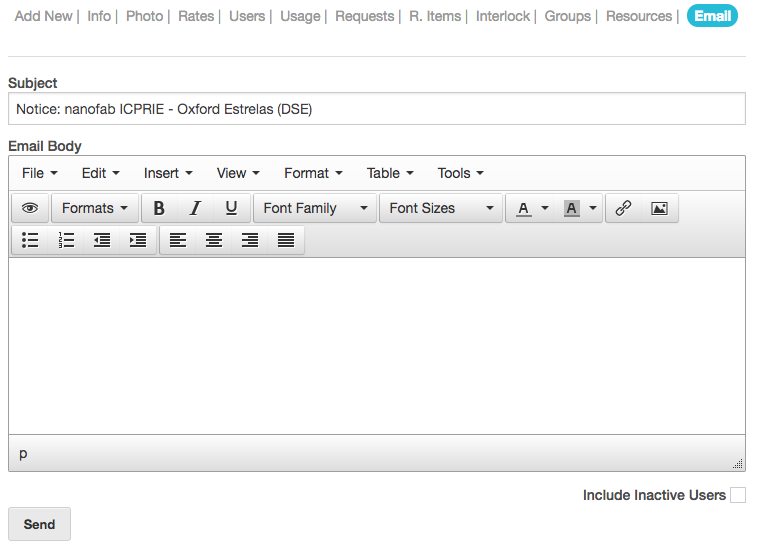
This section provides a mechanism to send an email to all tool users. To send an email, simply enter the message and click send. Clicking Include Inactive Users will also add inactive tool users to the email list.
Once the email is sent, a log file will be created which can be saved to view the details of the message. Download this file if you wish to save it as it will be overwritten the next time this function is used (to help reduce clutter on the server).